Mold Testing
Mold Testing Summerville SC for Clear Answers
Mold Testing Summerville SC gives homeowners and property managers evidence about suspected mold, moisture, and indoor air concerns. Our mold air quality testing Summerville SC service is useful after a leak, a musty smell, visible spotting, or unexplained dampness. We inspect the conditions, select appropriate samples, and explain what the findings mean so you can make a practical decision instead of guessing.
Service overview
Mold Testing Summerville SC: What It Shows
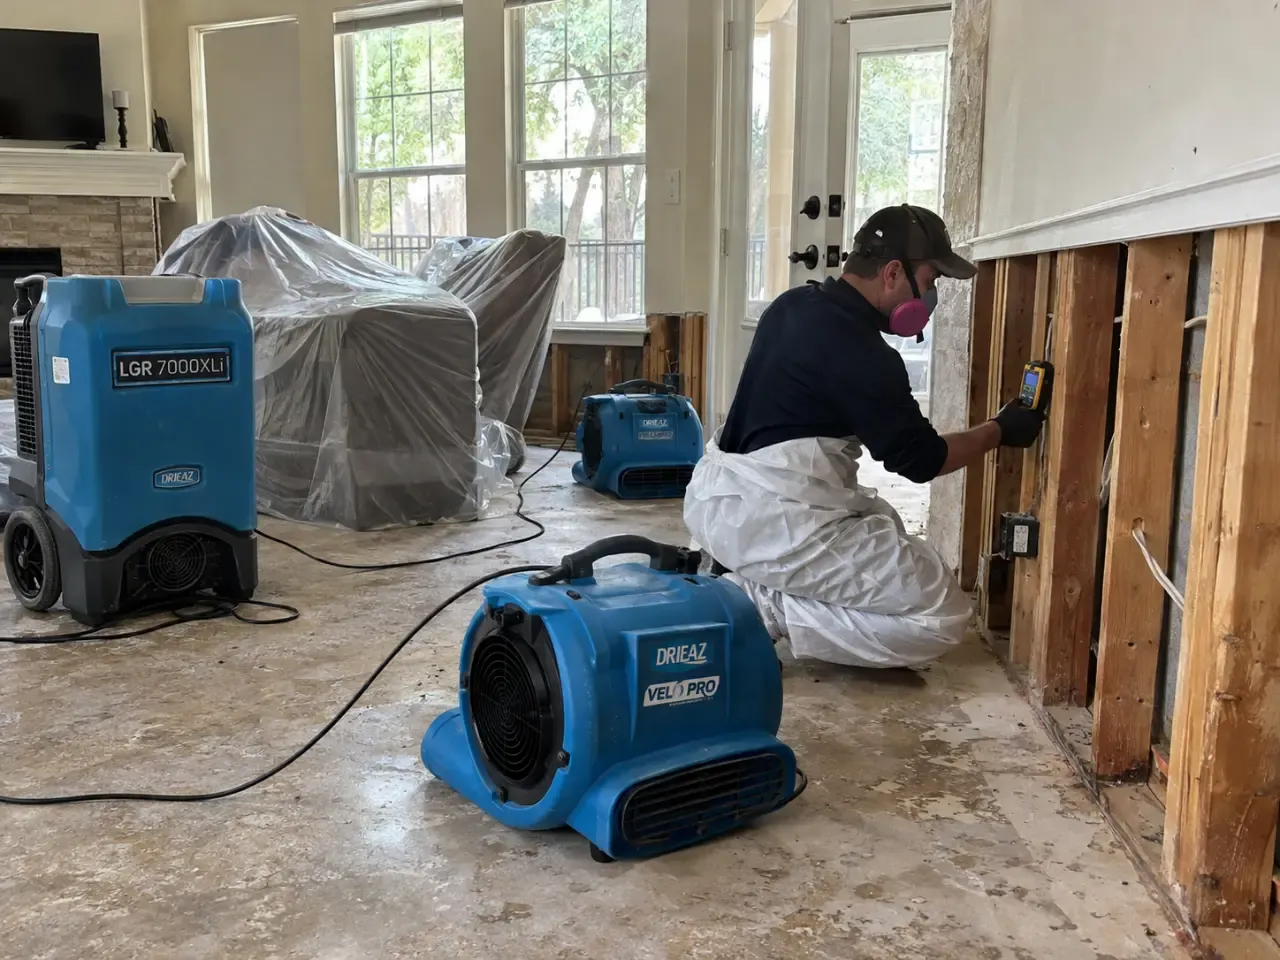
Mold Testing Summerville SC is an indoor environmental assessment that checks for mold indicators and moisture conditions when growth is suspected or a property needs documented findings. We start with a visual review, ask about leaks and prior repairs, and use targeted sampling only where it answers a useful question. Air samples, surface swabs, or tape lifts are selected according to the concern; samples are labeled and sent for laboratory analysis when lab identification is needed. A thermal imaging camera can help locate temperature patterns that warrant closer moisture checks, but imaging alone does not identify mold.
Summerville homes face warm, humid weather, heavy rain, and recurring moisture paths around roofs, plumbing, HVAC systems, and crawl spaces. A small stain can point to a continuing leak, while an odor with no visible growth can warrant a focused inspection of a wall or return-air area. Mold testing after water damage in Summerville, South Carolina helps distinguish a dried surface from a concealed problem that needs attention. We connect sample results to observed conditions and explain what action is supported by the evidence.
Practical benefits
Useful Answers, Not Guesswork
Good testing answers a specific property question: whether a suspected area needs further investigation, what the sample indicates, or whether moisture remains. We explain findings in plain language and relate them to the room, building conditions, and your next decision. That keeps testing focused rather than turning every dark spot into a costly project.
Pinpoint the Concern
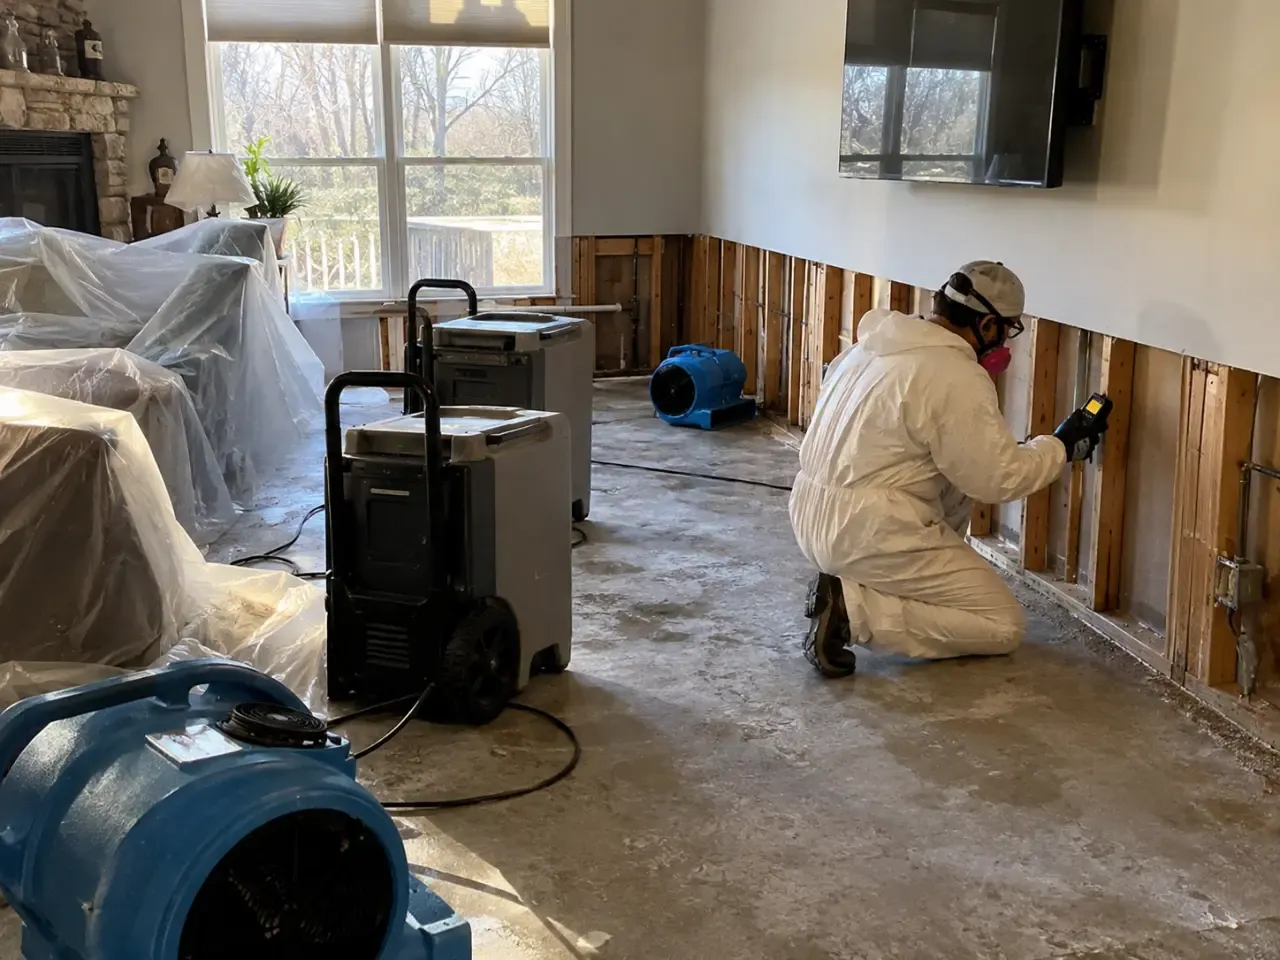
We document where the concern appears and compare it with moisture readings and visible conditions. A pin-type and pinless moisture meter helps check accessible materials without treating one reading as a complete diagnosis. If an air sample is appropriate, we record the room and sampling conditions so you can see what was tested and why.
Support Better Decisions
Lab results can help you decide whether to monitor, repair a moisture source, or arrange remediation. Our mold testing services in Summerville, South Carolina are built around the question you need answered, not a one-size-fits-all sampling package. You receive a practical explanation of findings and the next step tied to the evidence.
Check Hidden Areas
A musty odor behind a vanity or near a ceiling does not always match the visible surface. Where access and conditions allow, we use a borescope inspection camera to look into a cavity through a small opening. This helps narrow the search before anyone removes drywall, insulation, or trim unnecessarily.
Document a Baseline
Testing creates a record of sample locations, observed moisture, and laboratory findings at the time of inspection. That baseline is useful after a plumbing repair, before a property transaction, or when comparing conditions after cleanup. We explain the limits too: a sample describes its location and moment, not every surface in the building.
How service works
What Happens During Testing
Mold testing in Summerville follows a clear sequence: understand the concern, inspect the affected area, collect only relevant samples, and explain the findings. Most site visits take about 1 to 3 hours, depending on property size and access. Lab turnaround is separate from the visit, and we tell you what happens next before sampling begins.
STEP 01
Discuss the Concern
We begin with your timeline: when the odor or stain appeared, whether a pipe or roof leaked, and what repairs have already happened. You can point out rooms where symptoms or visible changes are strongest. This conversation often narrows the inspection to a bathroom, attic edge, HVAC area, or crawl space rather than testing every room.
Tools and methods
Tools and Testing Methods
FLIR thermal imaging camera
We use thermal patterns to identify areas that deserve a closer moisture check. A camera does not detect mold or prove a leak; it helps direct follow-up inspection and readings.
Pin-type and pinless moisture meter
These meters help compare moisture conditions in accessible building materials. Pinless readings support non-invasive screening, while pin-type readings provide contact measurements when the surface and situation allow.
Hygrometer
A hygrometer records indoor humidity during the inspection. The reading helps put odor and moisture concerns in context, particularly after a leak or during humid weather.
Borescope inspection camera
Where a suitable access point exists, a borescope can help view a limited wall or ceiling cavity. It supports a focused inspection without opening a broad section of finished material.
HEPA air scrubber
If controlled work is needed after testing, a HEPA air scrubber can capture airborne particles within a planned work area. It is an air-control tool, not a substitute for correcting moisture or removing affected material.
Targeted air sampling
We collect air samples when the concern involves airborne conditions in a specific room or comparison area. The sample location, room conditions, and collection method are recorded, then the sample is sent for laboratory analysis. Interpretation considers the inspection findings; a result is not a complete inventory of every surface in a building.
Surface sampling
A tape lift or swab can be appropriate when visible material needs identification. We choose a representative, relevant location and record what was sampled. Surface testing identifies material in that sample but does not determine the source of moisture, the extent behind the surface, or conditions elsewhere.
Moisture-led inspection
We follow evidence from stains, odors, plumbing, windows, ceilings, and HVAC areas, then compare suspect materials with nearby conditions. This sequence matters because mold concerns are tied to moisture. The inspection helps direct sampling and keeps the next step focused on the affected area.
Standards-informed interpretation
We use ANSI/IICRC S520 Mold Remediation Standard principles and EPA Mold Remediation guidance when findings lead to cleanup decisions. Testing itself is not a remediation protocol. The distinction helps you understand which findings call for more evaluation and which require a moisture correction or controlled removal plan.
Where this service fits
When to Schedule Mold Testing
A pipe leak in a Nexton kitchen was fixed, but the cabinet base still smells damp several days later.
We inspect the cabinet, adjoining wall, and floor edge for moisture and visible changes. If a sample would clarify suspected growth, we collect from a defined area and document the location. We also look for signs that the repair stopped the leak rather than simply drying the exposed surface. You learn whether the concern is supported by the sampled area and whether lingering moisture needs attention before cabinetry or flooring is closed.
A Sangaree homeowner sees a spreading ceiling mark after storms and wants to know what is behind it.
We check the ceiling and accessible roof-side areas for moisture indicators, then identify whether sampling is useful. A thermal imaging camera can point to temperature differences for follow-up, while direct readings help verify suspect materials. We explain the difference between a water stain and evidence that needs further testing. You get a focused assessment of the affected ceiling and a clearer sequence: stop water entry, dry materials, then repair or investigate further.
A Cane Bay Plantation property manager needs documented findings after an occupant reports a recurring odor.
We review the reported room, inspect accessible surfaces, record humidity, and choose samples based on the complaint. Our notes identify where each sample came from, helping you communicate results with maintenance staff and plan a response that matches the observed conditions. You receive findings tied to the reported location and a practical next step for maintenance, additional inspection, or moisture correction.
A homeowner plans to replace flooring after a slab leak but wants to check the affected room first.
We inspect the repair area and adjacent materials, checking for residual moisture and visible changes before new flooring goes down. When testing is warranted, samples are collected from relevant locations. We explain whether the findings support moving forward or addressing damp materials first. You can make a flooring decision with documented observations rather than covering an area that may still need drying or investigation.
Local execution
How Mold Testing Works in Summerville
Summerville's humid periods, warm weather, and strong rain events create recurring moisture concerns in crawl spaces, bathrooms, attic edges, and around HVAC equipment. Testing visits begin by locating the conditions behind the complaint: a roof and flashing leak, plumbing leak, condensation, or water that entered during a storm. In homes with crawl spaces, we consider ground moisture and the condition of the crawl space vapor barrier; in slab homes, we focus on plumbing routes, flooring edges, and adjacent walls. Our mold air quality testing Summerville SC work uses sampling only when it can answer a clear question, paired with visual and moisture checks. After storms, damp drywall or insulation should be evaluated before repairs conceal it. We serve Dorchester County, including 29483, 29484, 29485, and 29486. If you're arranging mold testing after water damage in Summerville, South Carolina, tell us what got wet, how long it stayed wet, and what repairs have been completed. Those details help us focus the inspection and make the results useful.
Nexton
In newer homes, we focus on the reported room and nearby plumbing or HVAC pathways, especially when an odor appears after a small leak or condensation event.
Cane Bay Plantation
We assess the specific water history and accessible building materials, since a ceiling mark after rain and a damp cabinet base require different inspection paths.
Sangaree
For established homes, we trace recurring odors and stains to likely roof, plumbing, or crawl space moisture before deciding whether samples are useful.
Wescott Plantation
We check reported areas and adjacent surfaces for moisture, helping distinguish a contained old stain from an active condition that needs follow-up.
High outdoor humidity and recurring indoor condensation
Humidity can contribute to damp window edges, cool wall surfaces, and musty odors. We record indoor conditions and check the materials involved so a sample is interpreted alongside the moisture environment.
Storm-driven roof or flashing leaks
Rain can enter at roof transitions and wet ceiling materials before a stain becomes obvious. We inspect the reported area and accessible locations, then distinguish water damage from a mold question that requires sampling.
Crawl space moisture beneath living areas
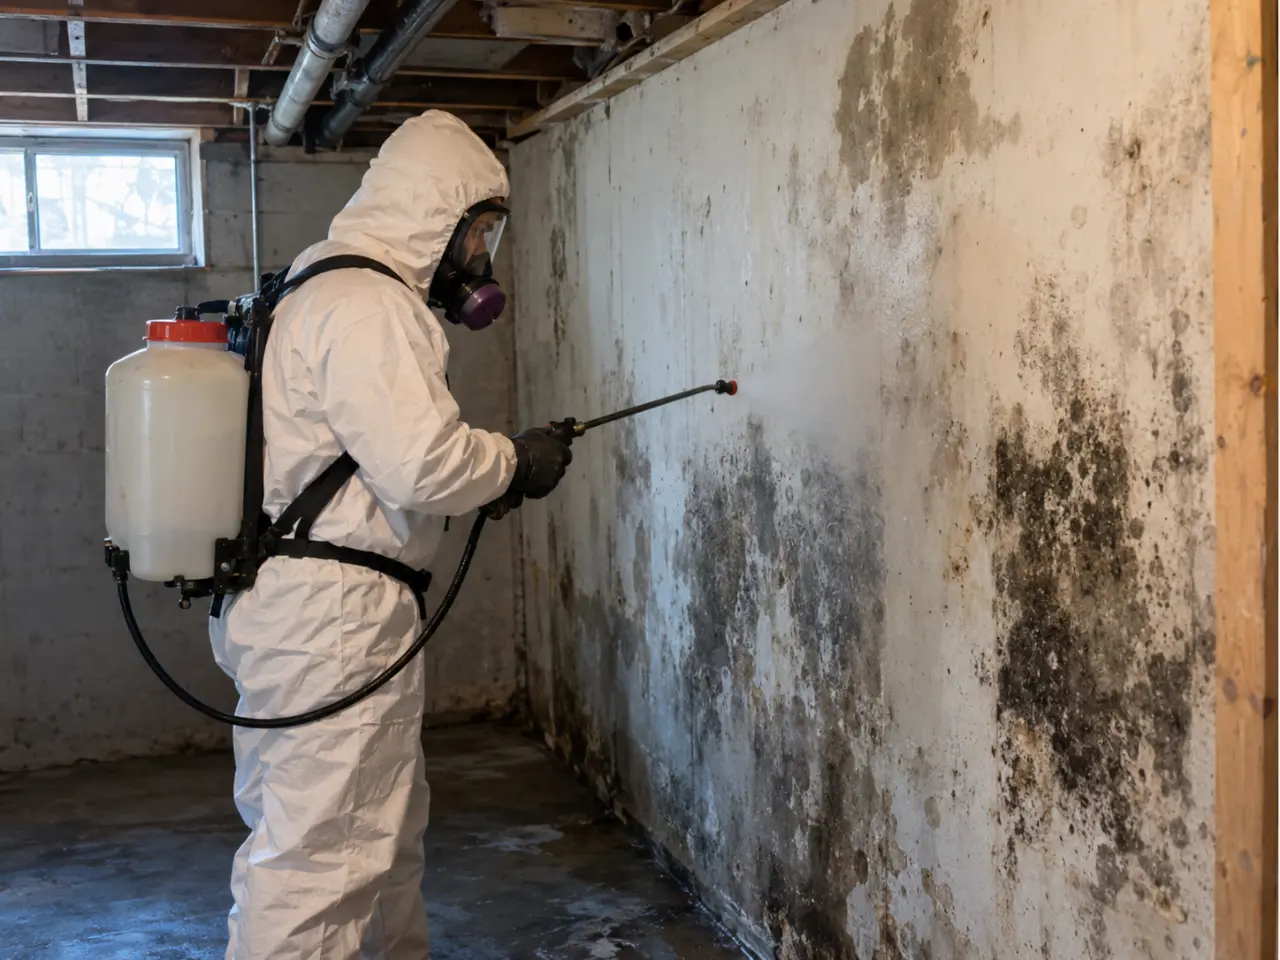
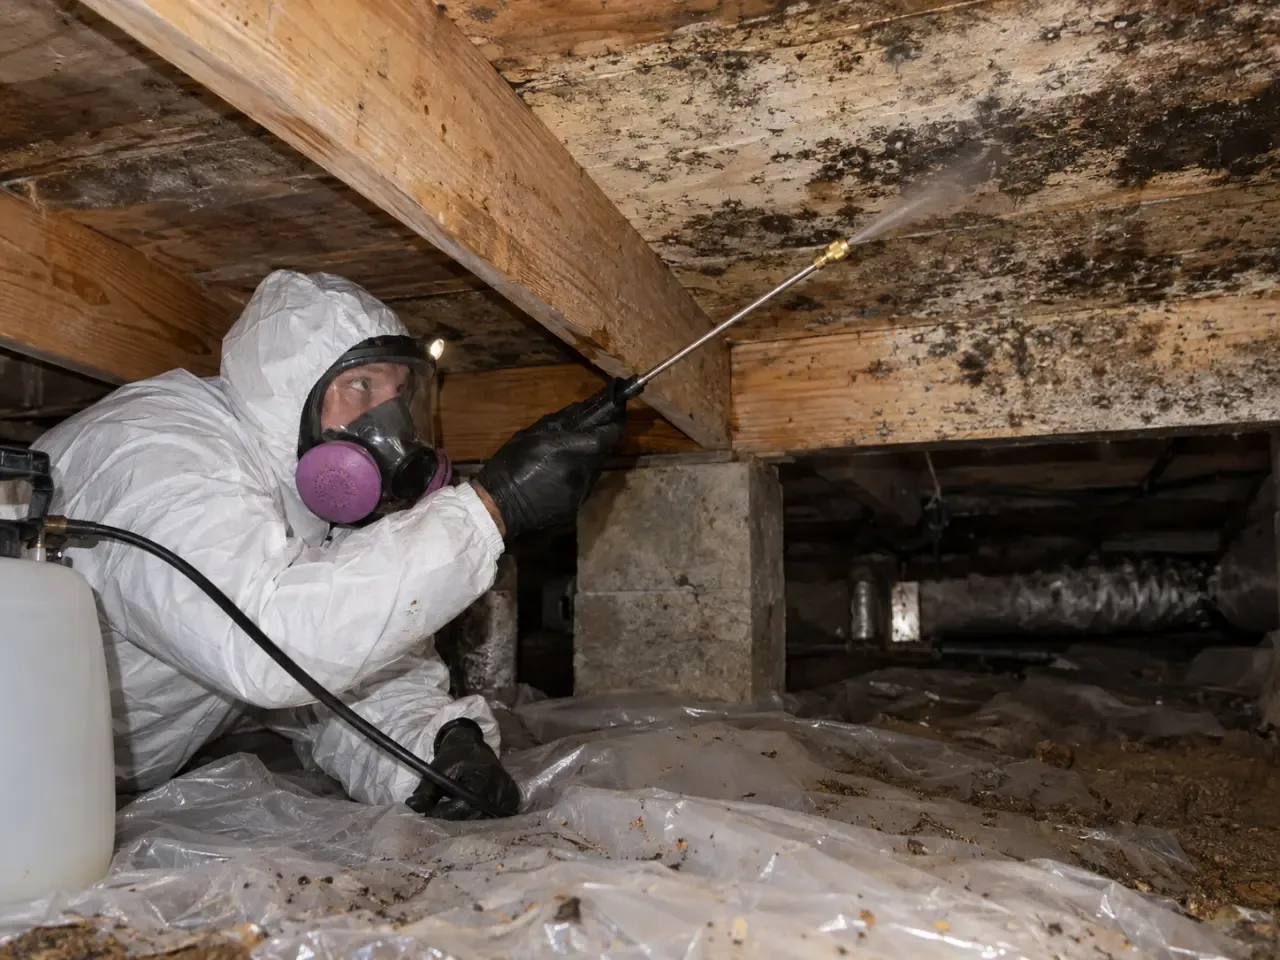
Damp ground or a compromised vapor barrier can contribute to elevated humidity and odors. We assess accessible conditions and connect findings to the rooms above, rather than assuming an indoor sample alone identifies the source.
Problems we solve
Mold Testing After Water Problems
A water event can leave hidden dampness after the visible puddle is gone. Testing helps answer whether a musty odor, recurring stain, or suspect area warrants closer action, while moisture checks help find conditions that could sustain growth. We focus on the affected building materials and the decision you need to make next.
Musty odor persists after a bathroom leak was repaired
We inspect the leak area, compare moisture readings around the repair, and look for related surface changes. If a sample can clarify the concern, we collect it from a defined location and explain what the lab can establish. You get a practical path toward drying, further inspection, or repair. Odor can remain when moisture is trapped behind a vanity or inside a wall, and repainting may hide a stain without correcting the damp material.
Dark spotting appears on a ceiling after heavy rain
We document the ceiling condition and check accessible areas for moisture patterns. Testing can help evaluate a specific suspect area, but stopping rain entry comes first. We explain whether the evidence points toward a localized moisture problem or warrants additional investigation before the ceiling is closed. A roof or flashing leak can wet ceiling materials and insulation, allowing the stain to spread while the entry point remains active.
Crawl space humidity rises and indoor air smells stale
We assess accessible crawl space conditions, note visible growth or dampness, and check humidity where appropriate. Sampling is selected only if it helps answer the concern. We then explain whether the next priority is moisture control, a focused follow-up inspection, or cleanup of affected materials. Persistent crawl space moisture can affect wood framing and contribute to odors that travel into living areas, especially when ventilation and ground moisture are poorly controlled.
A previous cleanup left uncertainty about remaining growth
We review what was cleaned, identify the areas that matter, and document current moisture conditions. If post-cleanup sampling is appropriate, we collect samples from relevant locations and explain the results in context. This gives you a basis for deciding whether additional work is supported. Without a clear post-work assessment, owners may not know whether an odor is from residual moisture, disturbed material, or an unrelated source.
A practical standard for every visit.
Clear planningPrepared arrivalsCareful workLocal follow-through
Experience in the details
Field Experience and Training
Summerville Mold Shield has served local property owners for 8 years, since 2018, with work focused on mold and moisture conditions. Our technicians approach testing as part of a building investigation: where water entered, which materials were affected, and what the sample can reliably establish. Training aligned with IICRC WRT and IICRC AMRT principles informs moisture and microbial work, while the ANSI/IICRC S520 Mold Remediation Standard guides remediation decisions. We keep testing and removal decisions distinct, so findings are explained before a repair plan is recommended.
- We relate sample locations to moisture pathways, including plumbing leaks, roof edges, HVAC condensate, and crawl space humidity.
- Our team uses FLIR thermal imaging as a screening aid, then confirms suspect conditions with direct inspection and moisture readings.
- We explain the difference between a laboratory identification, a visible observation, and proof of an active moisture source.
- Sampling plans are chosen for the question at hand, such as comparing a room with a nearby reference area.
- We apply EPA Mold Remediation guidance and ANSI/IICRC S520 principles when test findings lead to cleanup planning.
Where we work
One local team. A lot of ground covered.
NextonCane Bay PlantationSangareeWescott PlantationWhite GablesLegend Oaks PlantationLakes of SummervilleAshborough
Check my address Mold testing in Summerville commonly costs $250 to $650 for a focused residential assessment, depending on sample count and access. The price can rise when several rooms, cavity sampling, or additional laboratory analyses are needed. We explain the cost before work starts. Testing is most useful when it answers a defined question, such as whether a musty room has an associated moisture issue.
A DIY kit can collect a sample, but it cannot reliably diagnose a building-wide mold problem by itself. Results depend on where and how you collect the sample, and a positive result may not show whether growth is active or what moisture source is sustaining it. Our inspection combines location notes, moisture checks, and appropriate sampling so you can interpret findings in the context of your home.
Most laboratory mold test results take 2 to 5 business days after the lab receives the samples. The on-site inspection usually takes 1 to 3 hours, while complex properties or difficult access can extend the visit. We explain the expected lab window when samples are collected and review the report with you once it is available.
Only laboratory analysis of an appropriately collected sample can identify the mold types present in that sample. A visual color, including black mold growth, does not establish species or health risk. We inspect the affected area, check moisture conditions, and choose air or surface sampling when identification will help guide your next decision. The report is specific to the sampled locations.
Keep exploring
Services That Follow Testing
Your next step is waiting
Get Clear Mold Testing Answers
Tell us what you have noticed, where it is happening, and whether water has entered the property. Our team will help determine whether inspection, sampling, or moisture checks are the right next step. Call Summerville Mold Shield at (843) 892-8834 to discuss your concern.
Start with the basics
Contact Our Summerville Team
Call Summerville Mold Shield at (843) 892-8834 to discuss visible mold, a leak, or a damp crawl space. We take calls for urgent moisture problems and arrange service during our business hours, Monday through Friday, 8 a.m. to 6 p.m. Tell us what happened and which rooms are affected so we can help you plan the next step.